Documentation
Onboarding guide
Get from zero to live analytics in minutes: installation, custom events, SaaS metrics, AI observability, and session replay.
Onboarding guide
Welcome to WysLeap. This guide covers everything from adding the tracking script to configuring session replay, SaaS metrics, and AI observability.
Three steps from sign-up to the API key you'll paste into your site.
STEP 01
Sign up with your email. Every account starts with a 90-day free trial, no card needed.
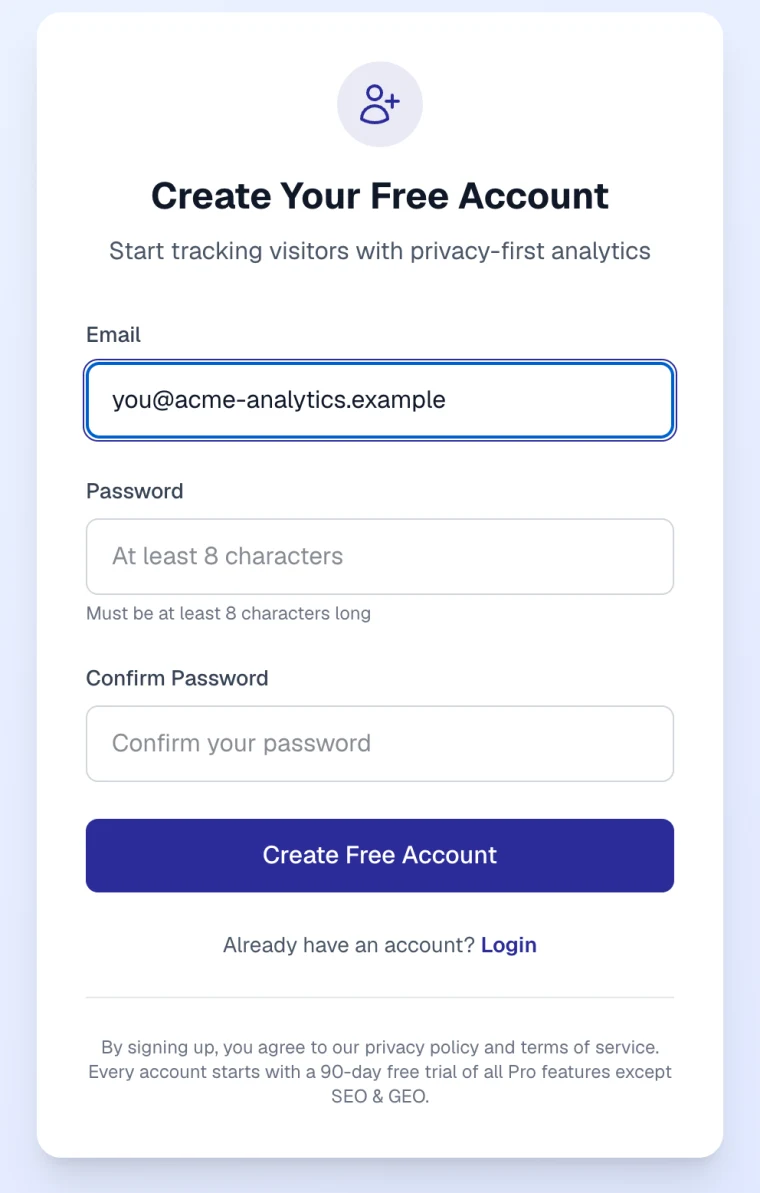
STEP 02
Click Add Site on your Sites page and enter a name and your domain, without http:// or www.
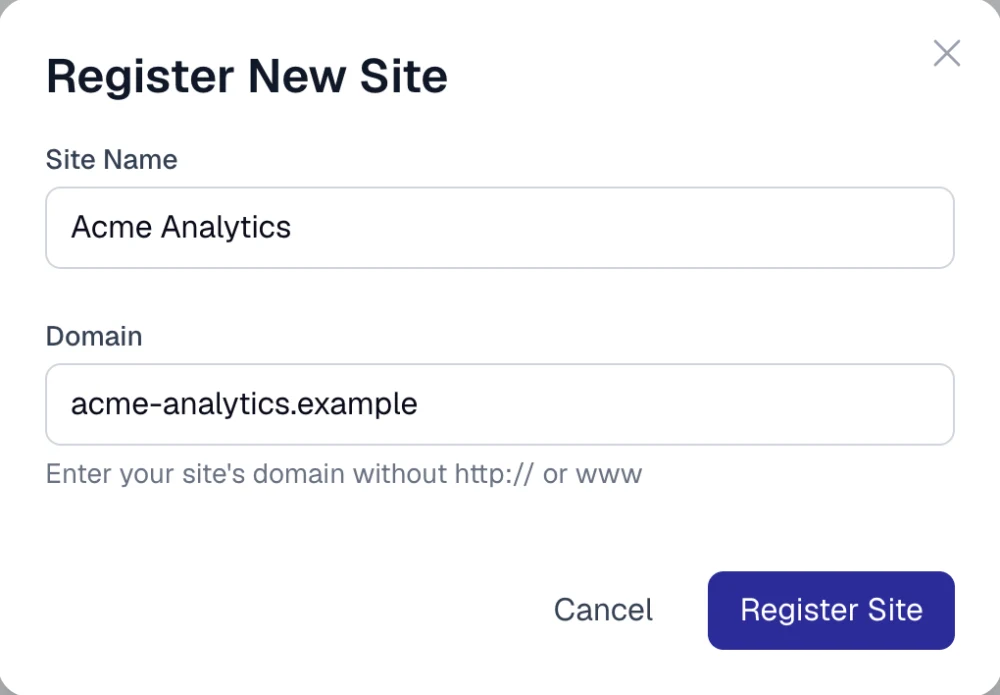
STEP 03
Open the site's Settings and copy the API key. You'll use it in the tracking script in the next step.
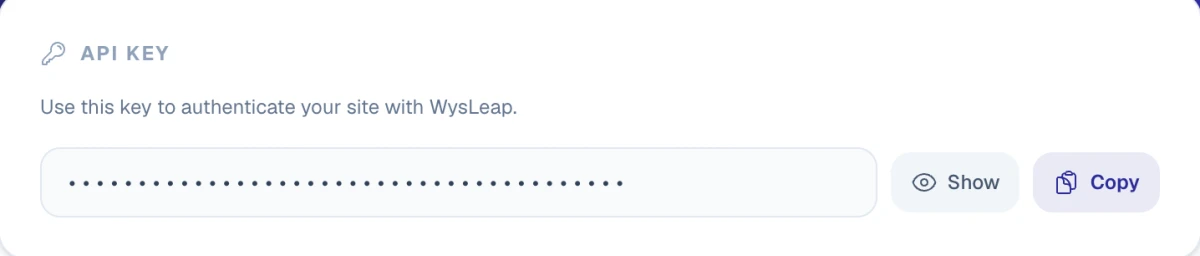
Seven focused steps. Follow them in order or jump to what you need.
Add the tracking script to your site in under 2 minutes. Copy and paste it. No build process needed.
Track button clicks, form submissions, purchases, and any meaningful user action with one line of code.
Get by-author and by-section analytics from meta tags or path mapping. No custom events required.
Track signups, activation, trials, PQL scoring, churn risk, and product-led growth metrics.
For AI products: track task quality, completion rates, regeneration patterns, and user satisfaction.
Record and replay full user sessions to understand behavior, debug issues, and improve UX.
Privacy settings, sampling rates, visitor identity, and advanced configuration options.
Four steps to go from zero to live analytics.
Create account & add site
Sign up at wysleap.com and add your site to get your siteId and API key.
Install the tracking script
Add one script tag to your site's <head>. Pageviews, clicks, and scroll depth are tracked automatically.
Track custom events (optional)
Add event tracking for key user actions (signups, purchases, feature usage) with one line of code.
View live analytics
Navigate to your Analytics Dashboard to see real-time visitor data, intent scores, and session replays.
Start with installation. Add one script tag and you'll have pageviews, clicks, and scroll depth working in under 2 minutes.
